RudderStack's Models feature lets you create models by defining custom SQL queries. You can then run these queries on your warehouse and send the resulting data to specific destinations. You can create as many models and reuse them with their corresponding Reverse ETL sources.
With this feature, you can:
- Build models with complex SQL queries via an intuitive UI.
- Manage the views of all the models synced to different destinations in one place.
- Reuse the existing models in multiple connections.
Currently, RudderStack supports this feature for the following Reverse ETL sources:
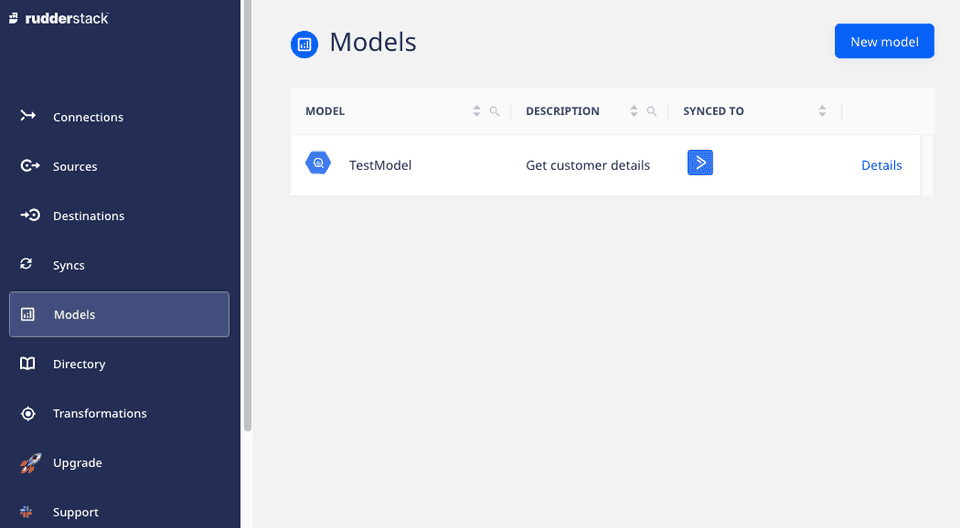
You can find the Models option in the left navigation bar of the RudderStack dashboard that lets you view all the existing models, as shown:
Creating a new model
Follow these steps to create a model:
Log in to the RudderStack dashboard.
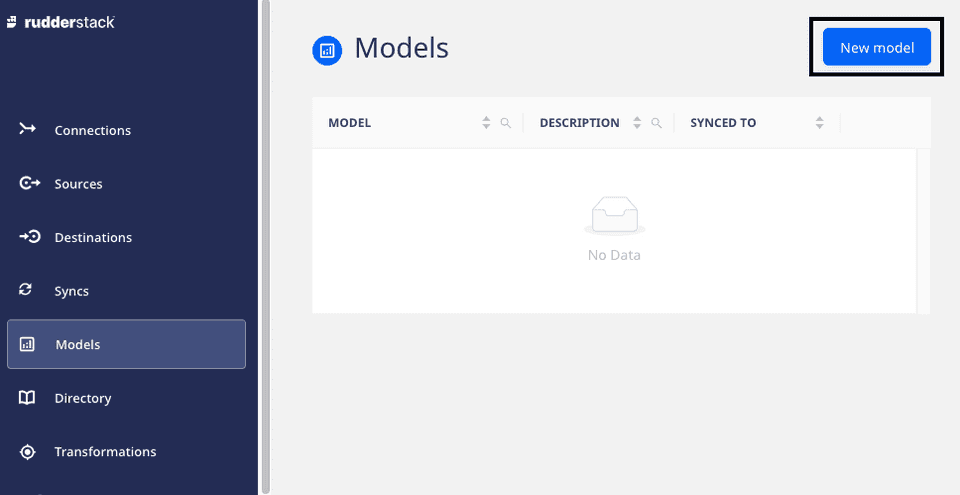
Click Models in the left navigation bar and select New model.
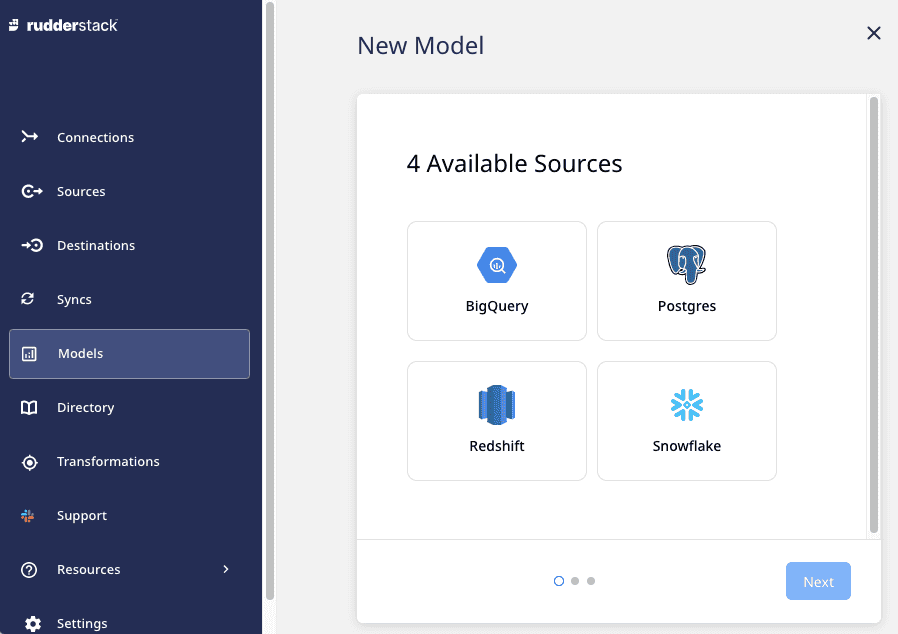
- Select the Reverse ETL source for the model and click Next.
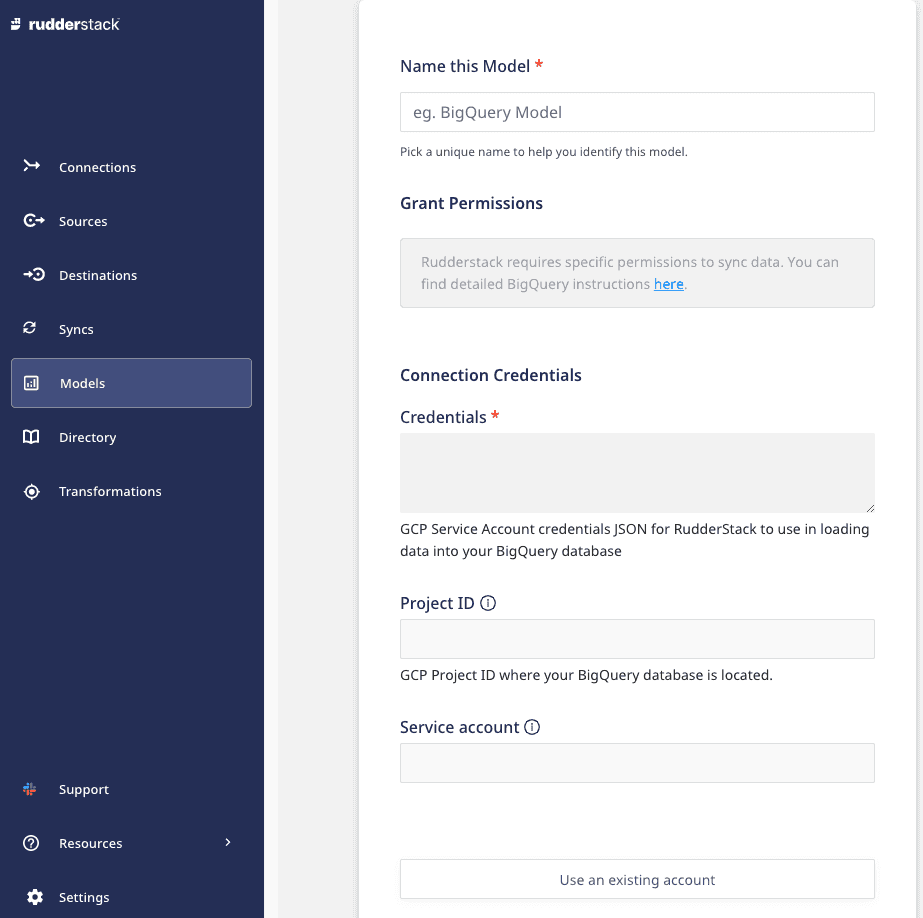
- Enter a name for the model.
- Select your existing warehouse credentials or click Create Credentials from Scratch and enter the warehouse-specific details.
Your warehouse account must have the necessary user permissions for RudderStack to access it. For more information on these user permissions, refer to the Granting Permissions section of the relevant Reverse ETL source.
- Next, enter the Description for the model. Then, add your custom SQL query in the Query section.
- Click Run Query to preview the result.
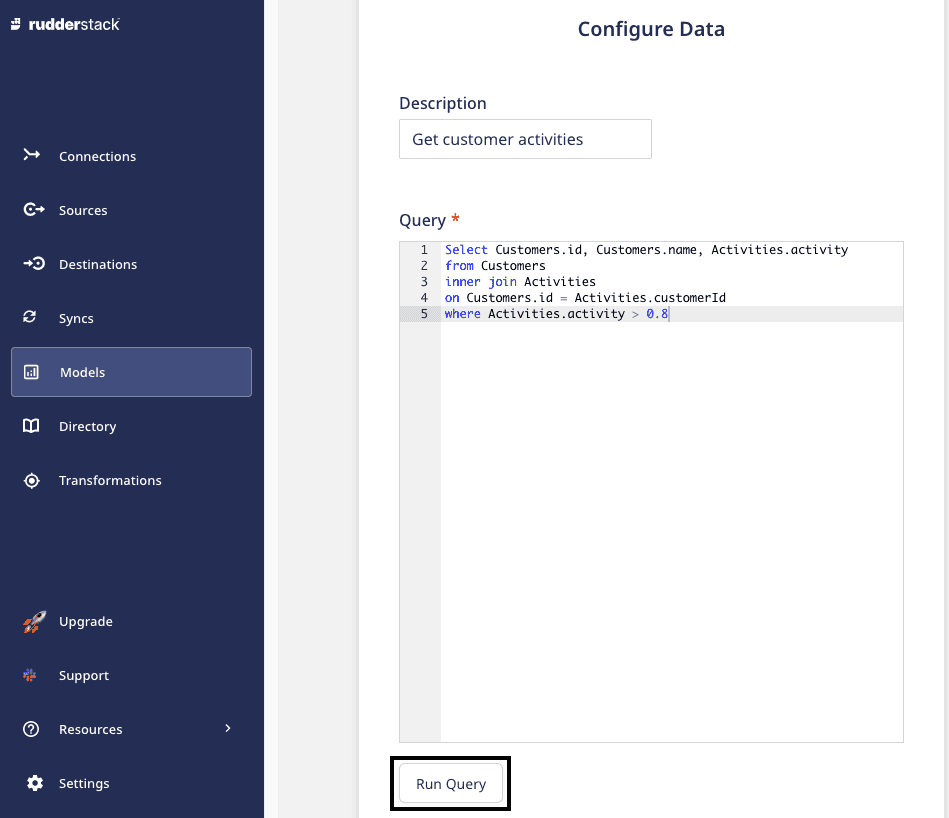
The Preview section displays the preview of the 50 resultant rows in a paginated format.
- Click Next to create the model.
Updating an existing model
Follow these steps to update an existing model:
- Click the model you want to update and select the Configuration tab.
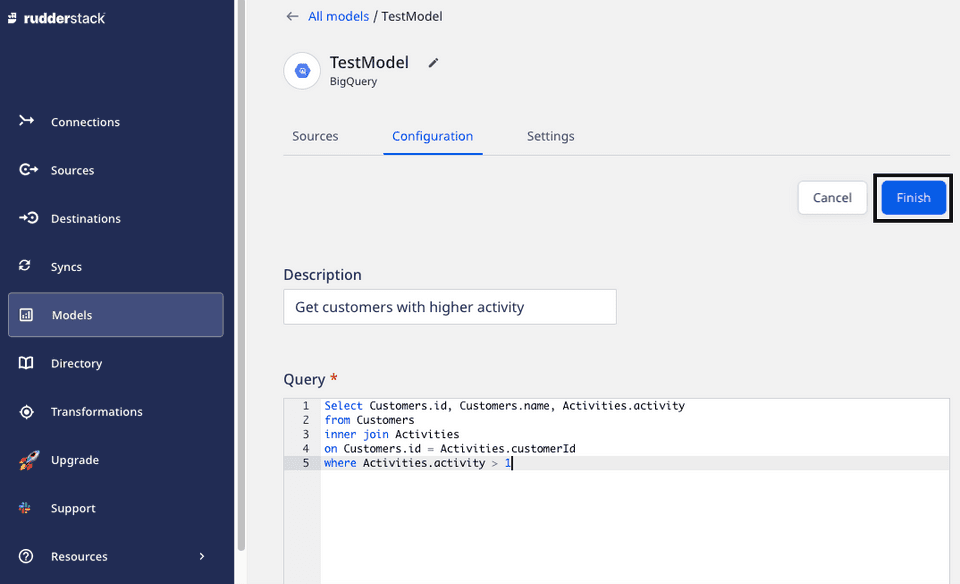
- Click Edit Configuration and make the required changes in Description and Query.
- If you have edited the query, click Run Query to see if the new query generates the desired result.
- Finally, click Finish to save your changes.
Model details
To get details about an existing model, you can click it to see the options listed below:
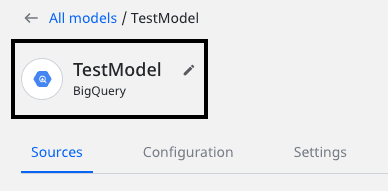
- Rename: Lets you rename the model by clicking on the edit icon next to the model's name.
Sources: Displays the sources associated with the model. To learn more on how to use a model with a source, refer to the Setting Up Connections Using Models guide.
Configuration: Displays and lets you edit the SQL Query and Description.
Settings: This option contains the following two settings:
- Permanently delete the model: Lets you delete the model by clicking on the Delete button. The Delete button is only enabled when no source is using the model.
- Credentials: Lets you edit the credentials used for the model.
After editing the credentials, it is recommended to validate the query by running it and fetching the preview via the Configuration tab as explained in the Updating an existing modelsection above.
FAQ
What do the three validations under Verifying Credentials imply?
When setting up a Reverse ETL source, once you proceed after entering the connection credentials, you will see the following three validations under the Verifying Credentials option:
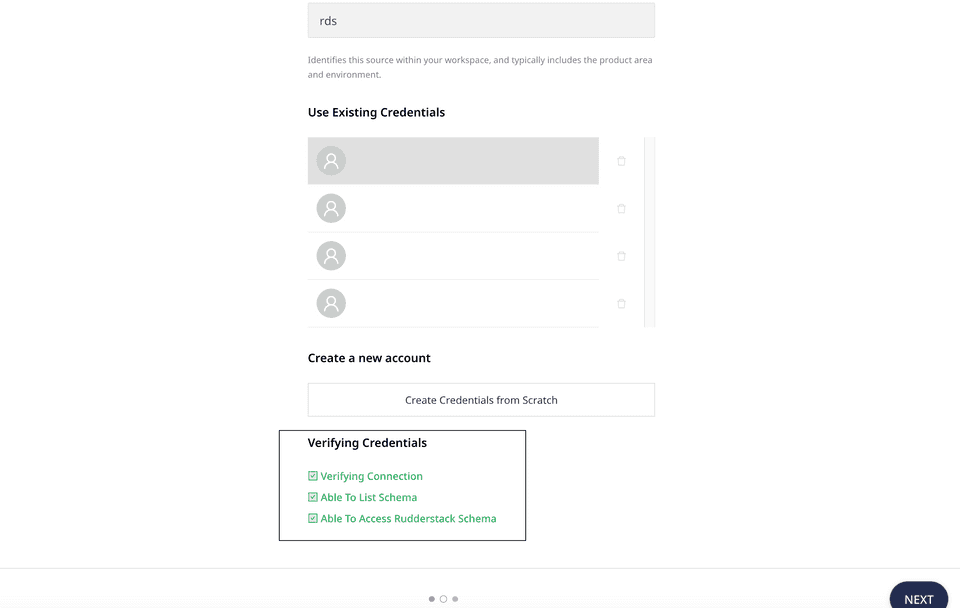
These options are explained below:
- Verifying Connection: This option indicates that RudderStack is trying to connect to the warehouse with the information specified in the connection credentials.
If this option gives an error, it means that one or more fields specified in the connection credentials are incorrect. Verify your credentials in this case.
- Able to List Schema: This option checks if RudderStack is able to fetch all the schema details using the provided credentials.
- Able to Access RudderStack Schema: This option implies that RudderStack is able to access the RudderStack schema that you have created by successfully running the commands in the User Permissions section of the relevant Reverse ETL source.
If this option gives an error, verify if you have successfully created the RudderStack schema and given RudderStack the required permissions to access it.
Contact us
For more information on the topics covered on this page, email us or start a conversation in our Slack community.