Autopilot is a popular marketing automation platform that allows you to track and capture new leads and create detailed customer journeys. With Autopilot, you can connect with your existing customers by sending them personalized messages, and surveys to improve your product design. Autopilot allows you to boost your customer retention rate, and automate repetitive tasks with ease.
RudderStack allows you to configure Autopilot as a destination to which you can send your event data seamlessly.
Getting started
To enable sending data to Autopilot, you will first need to add it as a destination to the source from which you are sending your event data. Once the destination is enabled, events from our SDK will start flowing to Autopilot.
| Connection Mode | Web | Mobile | Server |
|---|---|---|---|
| Device mode | - | - | - |
| Cloud mode | - | Supported | Supported |
Once you have confirmed that the platform supports sending events to Autopilot, perform the steps below:
- From your RudderStack dashboard, add the source. From the list of destinations, select Autopilot.
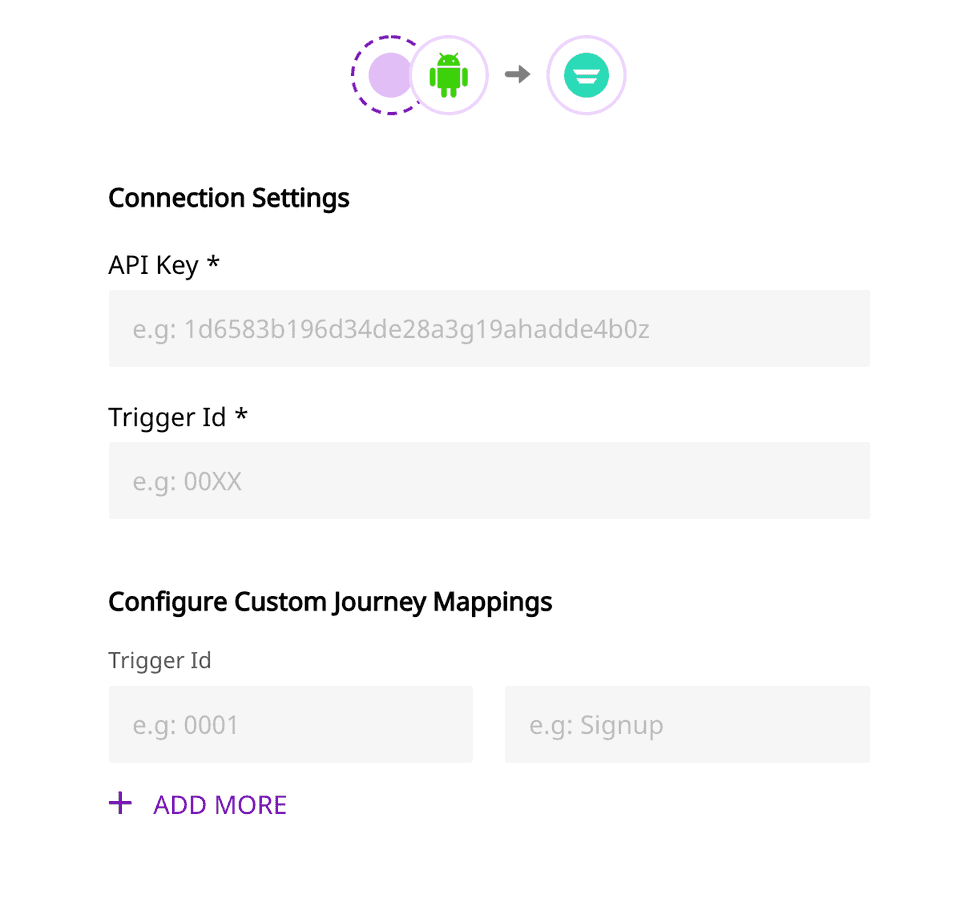
- Give a name to the destination and click Next. You should then see the following screen.
 Autopilot Settings
- Fill up the details and click Next to complete the configuration. Autopilot should now be added and enabled as a destination in RudderStack.
Identify
The identify call captures the relevant details about the visiting user.
For more information on the identify method, please refer to our guide on RudderStack Events Specification.
A sample identify payload is as shown in the snippet below:
[[RSClient sharedInstance] identify:@"developer_user_id" traits:@{@"foo": @"bar", @"foo1": @"bar1"}];Track
The track call captures the information related to the actions performed by the user, along with their properties, or traits.
For more information on the track method, please refer to our guide on RudderStack Events Specification.
A sample track payload is as shown in the snippet below:
[[RudderClient sharedInstance] track:@"test_event" properties:@{@"key":@"value", @"foo": @"bar"}]FAQs
Where can I get the Autopilot API key?
To obtain your Autopilot API key, follow these steps:
- Log into your Autopilot dashboard.
- Go to Settings > Autopilot API.
- Click Generate and copy the API key.
For more information, refer to the Autopilot documentation.
Contact us
For more information on the topics covered on this page, email us or start a conversation in our Slack community.